

As the weather is still cloudy and chilly here in New Jersey, I can not wait for the first sights of Spring! I’ve been hard at work prepping our seed-starts to transplant into our garden as soon as the soil is warm enough. I use soil blocks as a seed-starting method to prepare all of my transplants. I find soil blocking works best for my current growing situation and values as a gardener and business owner; but, make the decision for yourself after you’ve read this post.
What is Soil Blocking?
Soil blocking is an alternative method to seed starting compared to the typical seed-starting trays or peat-pots that everyone can find at any local home improvement or garden store. Soil blocking utilizes a metal, “soil blocker” tool that comes in a variety of sizes to create mini blocks of soil to place your seeds.
I use soil blocks primarily because I am able to start so many seedlings in such a small growing space.

Why Use Soil Blocks?
As some of you may know, I do not have ANY spare space in my house to create a grow room (and I certainly do not have the budget for a heated greenhouse). So my husband built me these special grow shelves in our entry way. We had empty wall space and figured we might as well go up if we can’t go out. It is slightly inconvenient to have to climb on a step stool to retrieve my seedlings, but we are trying to work with what we’ve got and “bloom where we are planted.”
Keep in mind that the goal is to get these transplants in the ground as soon as possible. We want the seedlings to have strong roots and a short and stocky nature (certainly not leggy and stretching toward the grow lights). Grow shelving is very precious space that needs to be used until the seed babies do not need them anymore, then they are kicked out of the house and into the garden for future growth.
Soil blocks also have other benefits including improved seedling health when transplanting- less root bound transplants and lowered disease risk. Not to mention, ease in watering- simply leave a well of space to the side of your soil blocks to pour water. Then, the soil blocks will soak up all of the water from the well. Per Lisa Mason Ziegler’s recommendation, I let the soil blocks drink up as much water as possible. Then, I dump any excess water down the drain so they are not sitting in any extra water. Plus, seedlings take 1/3 of the time to grow to the desired height (4-ish inches tall) to transplant into the ground. And, a reduced impact on the environment because we are eliminating the use of a single-use plastic!
STEP 1:
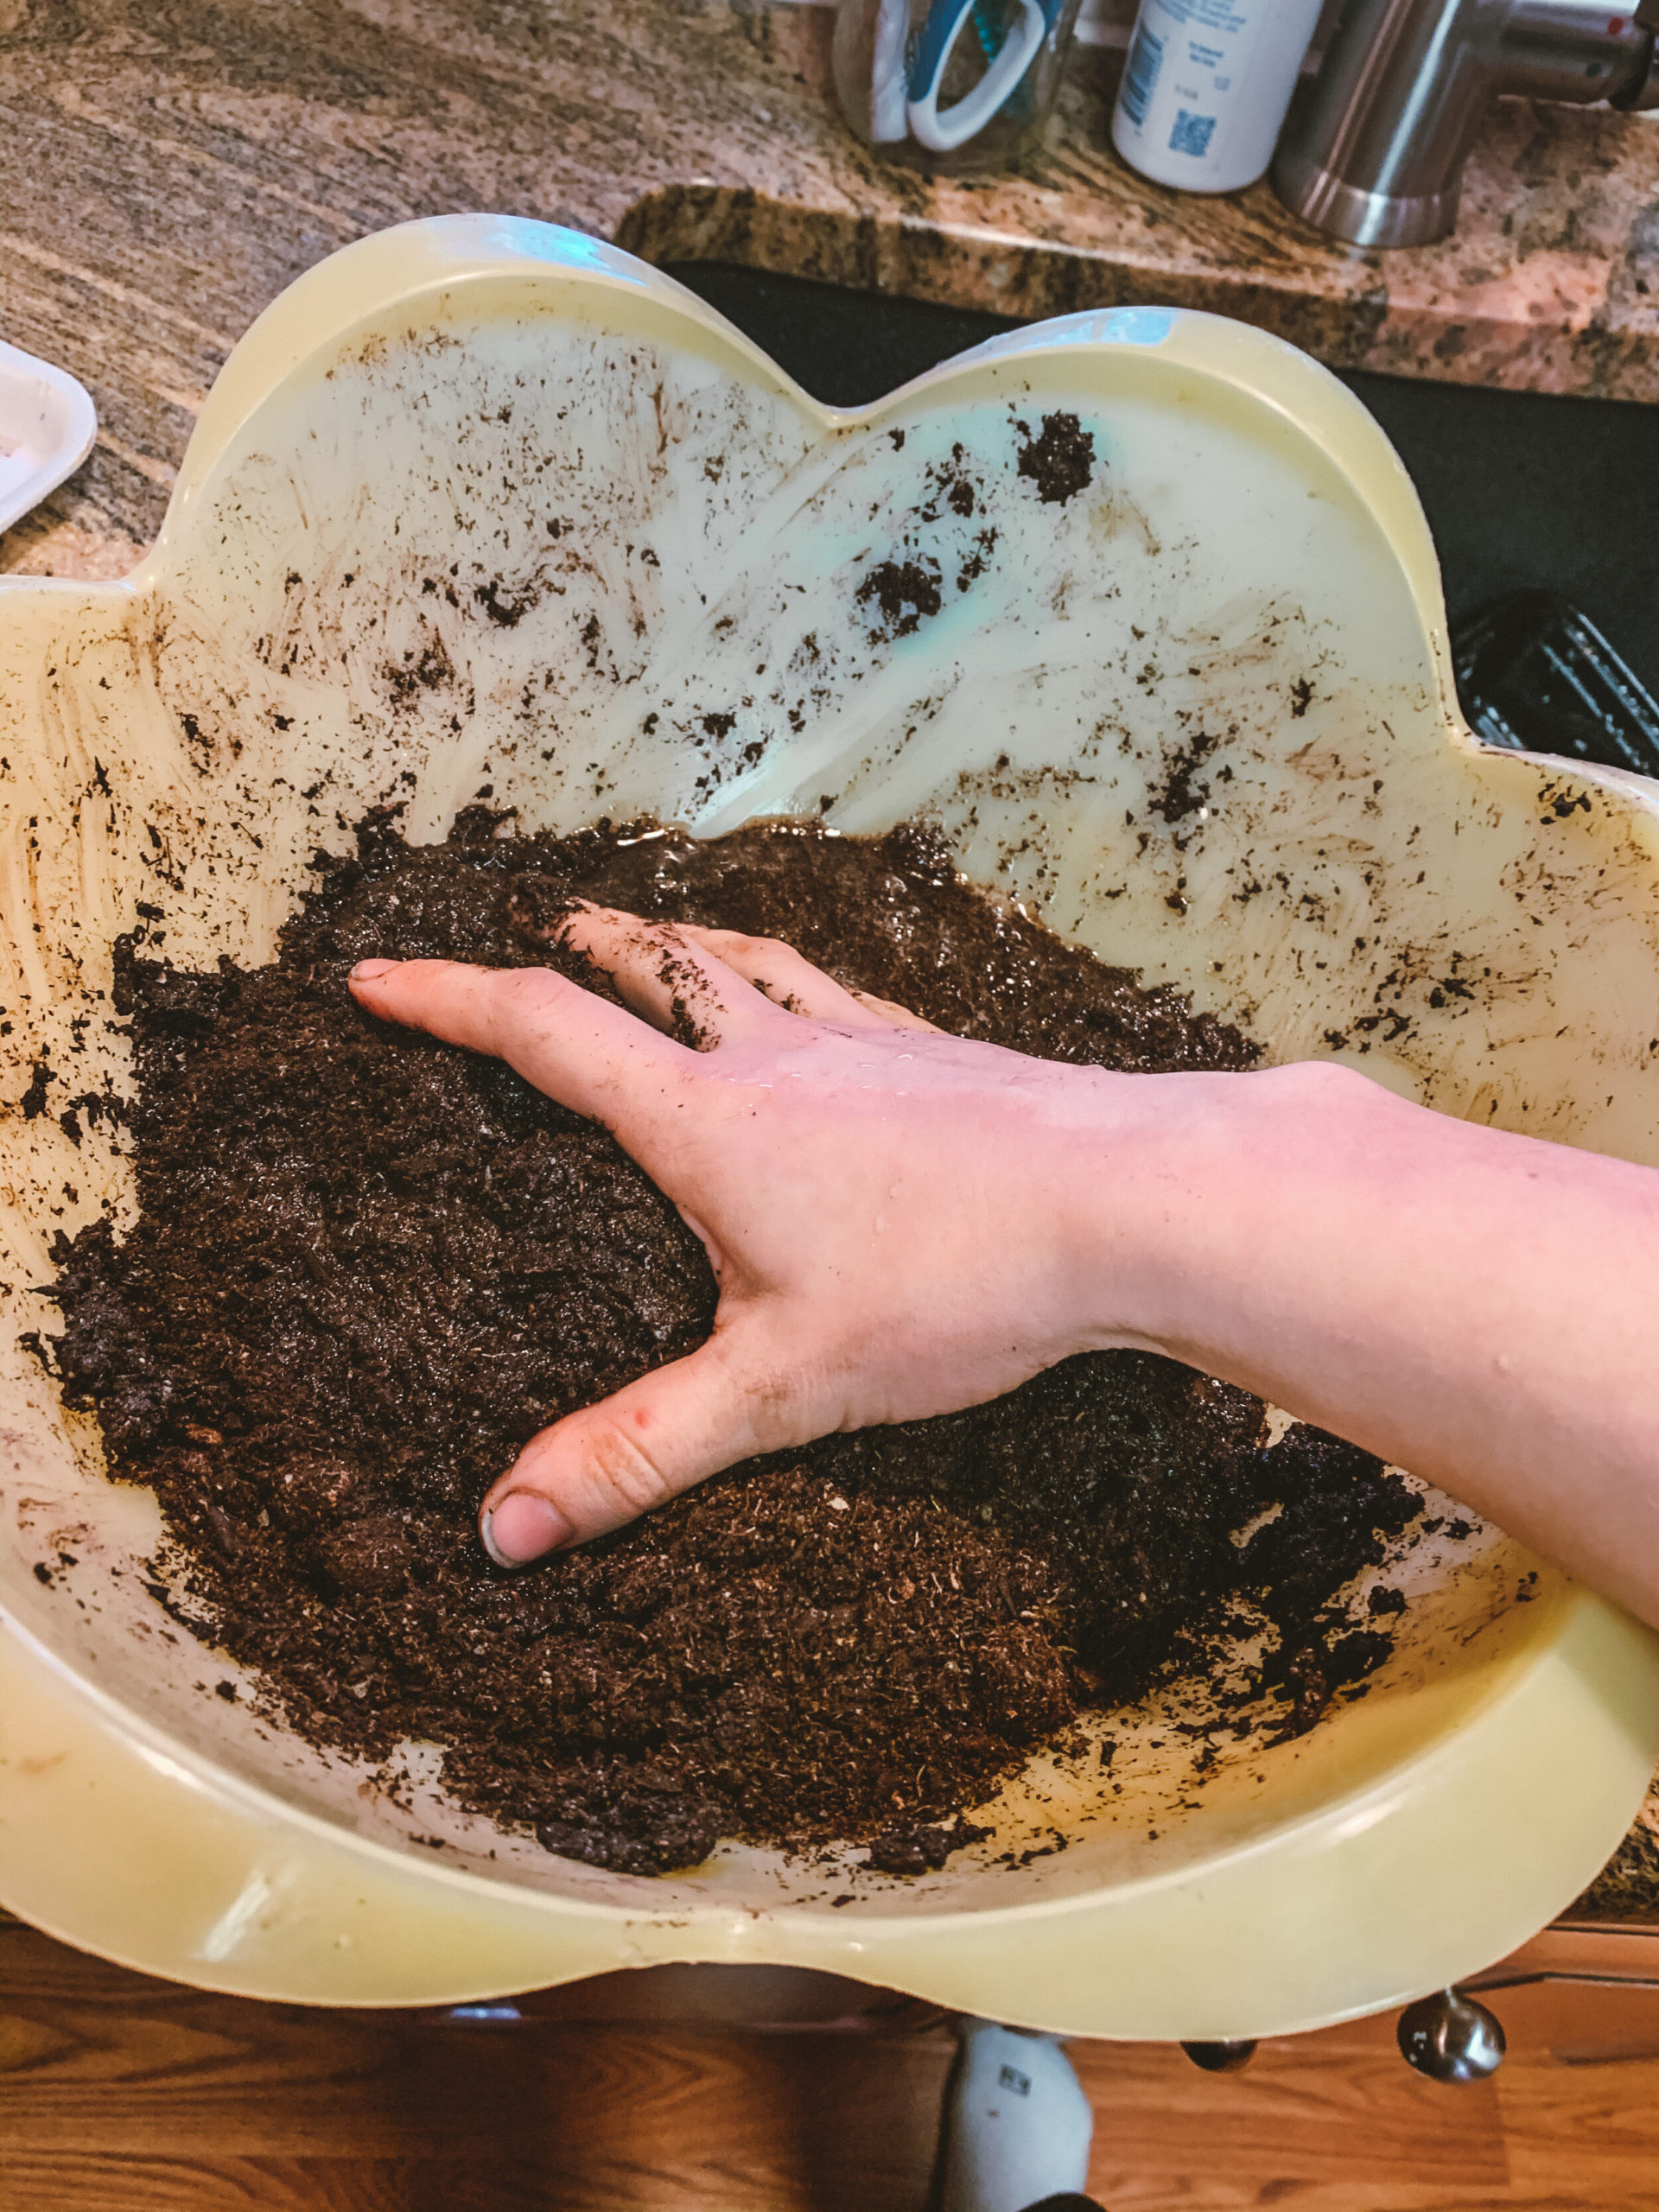
To make a soil block first you’ll need to wet your soil blocking mix. I add about 4 parts mix to 1 part water.
STEP 2:
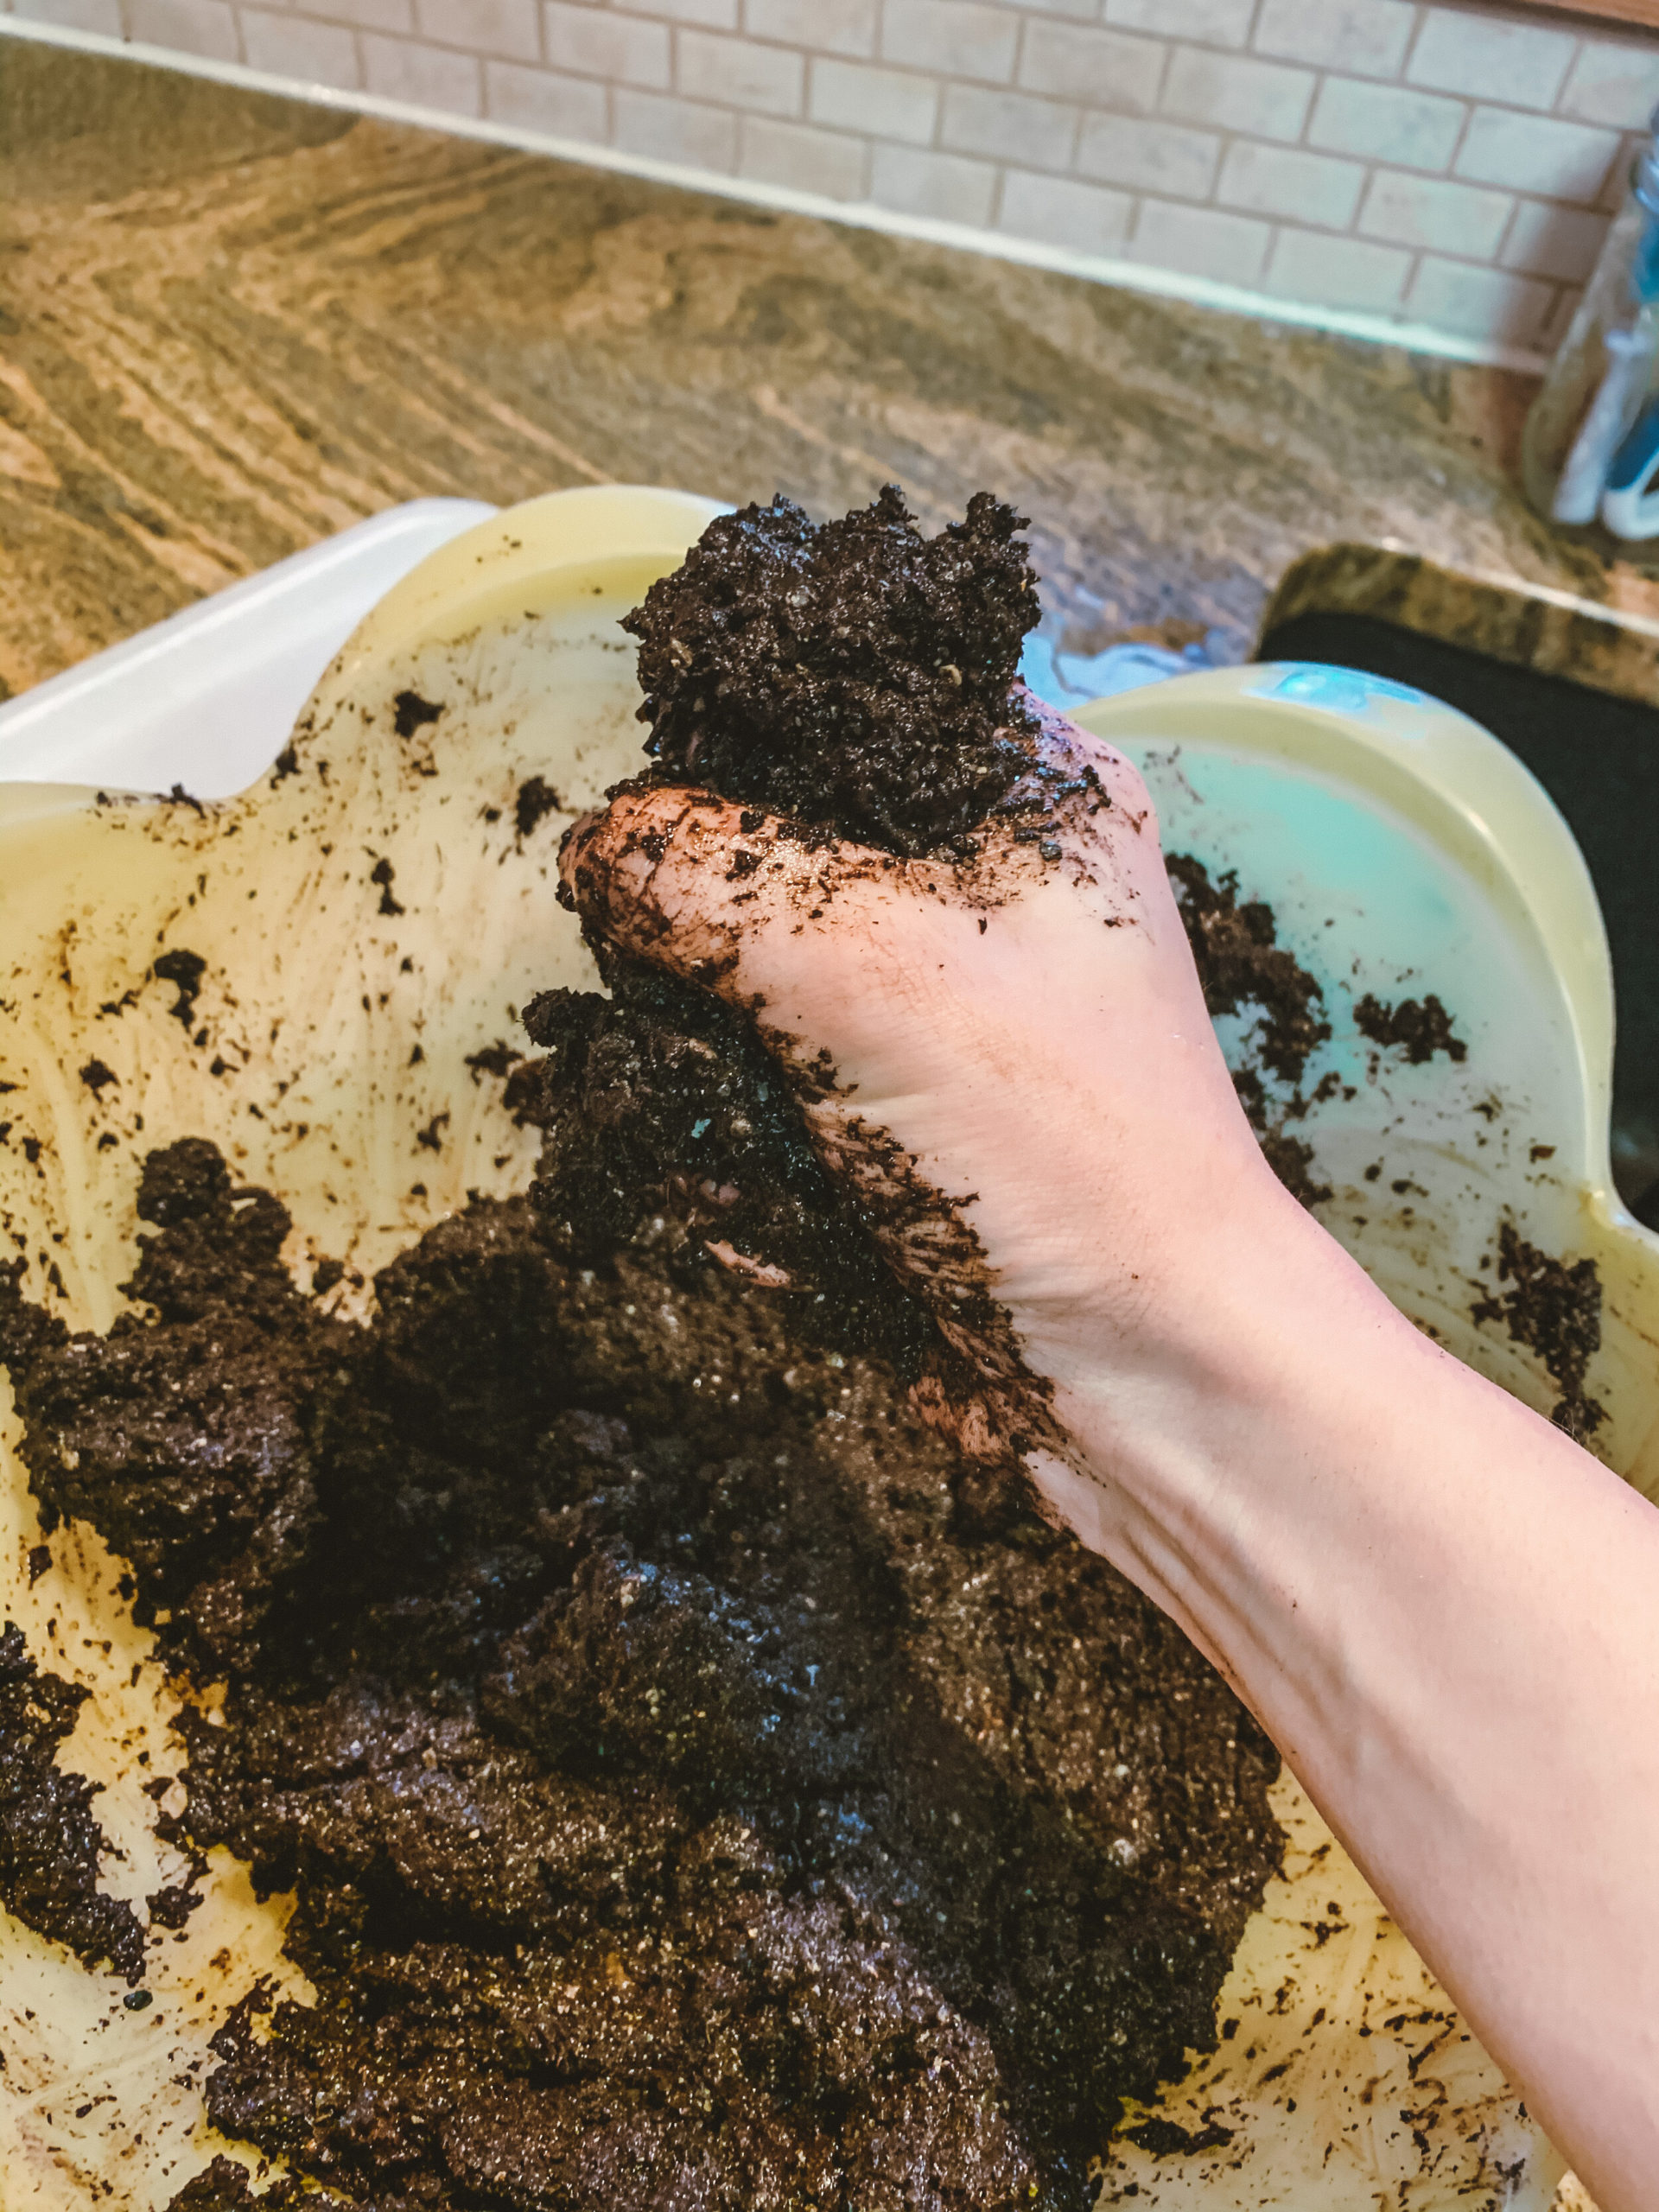
(You want the mix to be able to hold itself together if you squeeze it within your hands). I purchase The Gardener’s Workshop’s pre-made soil blocking mix here and simply mix it with water in a large mixing bowl (I have a large bowl from my kitchen dedicated to soil mix now, talk about “using what you’ve got!”). By using a large mixing bowl I am able to make about 8 2-inch blocks or 200 3/4-inch blocks.
STEP 3:
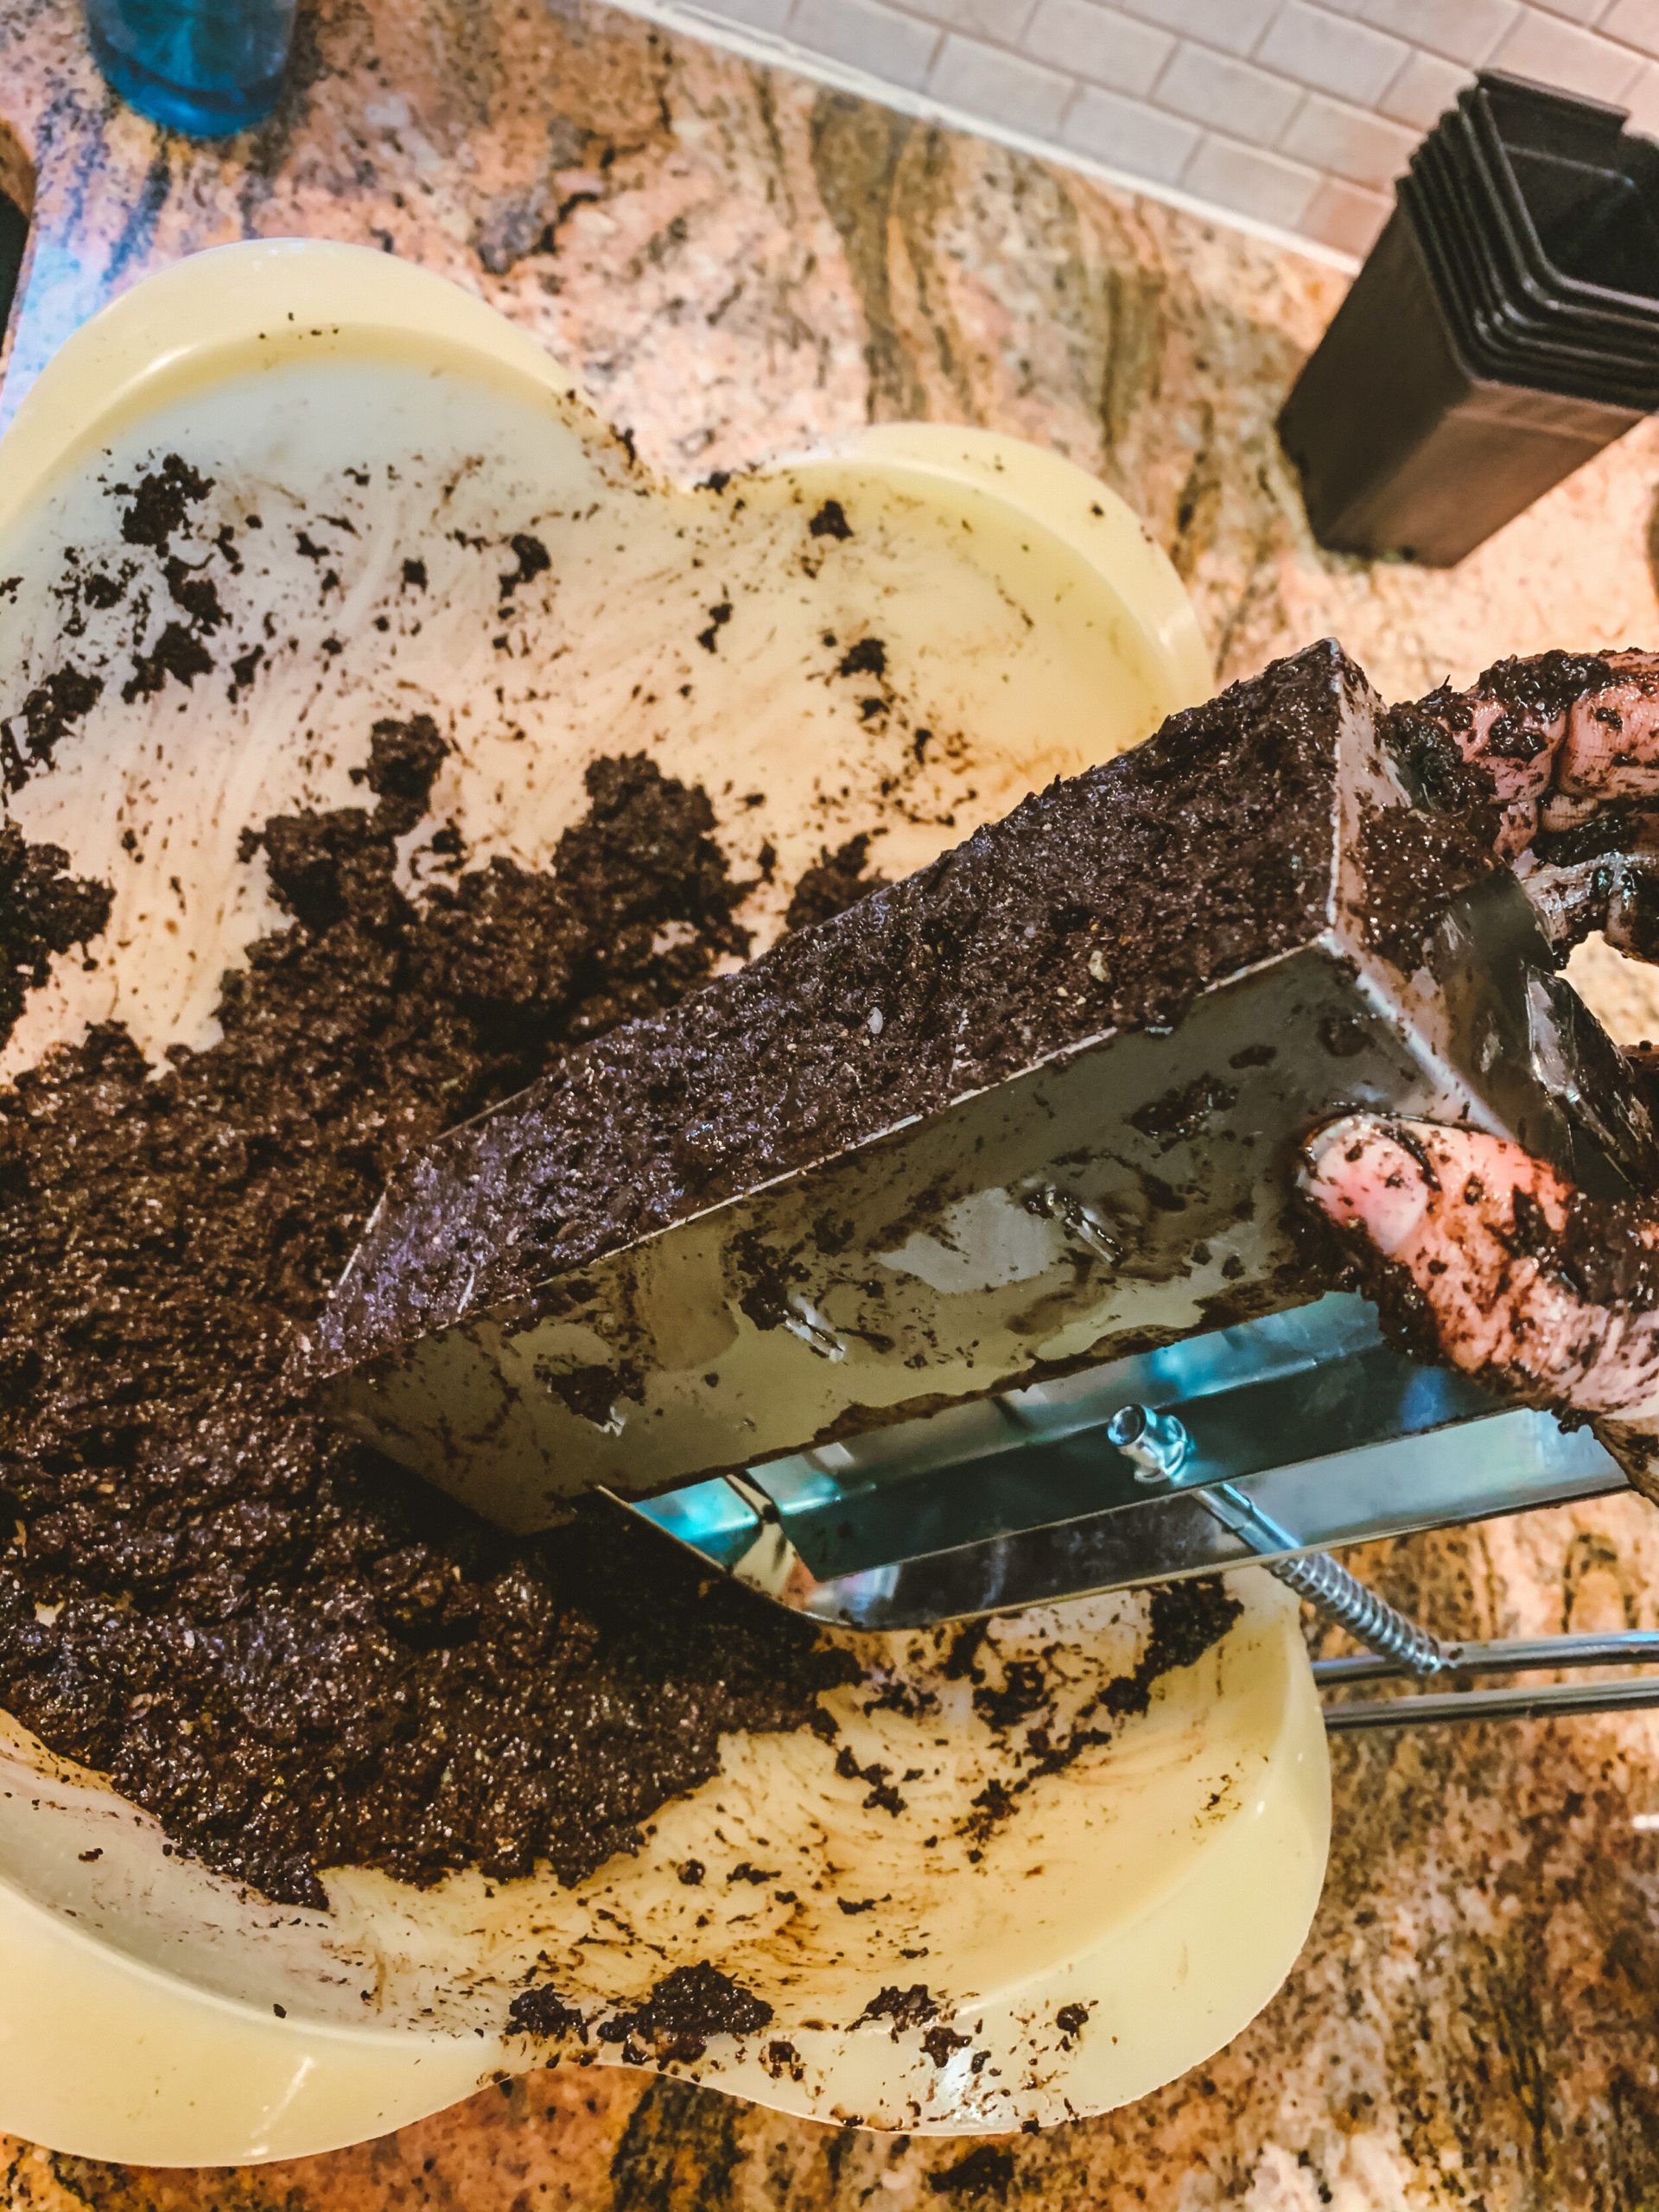
Once the soil is the perfect consistency, fill the blockers all the way so that they are nice and compact.
STEP 4:
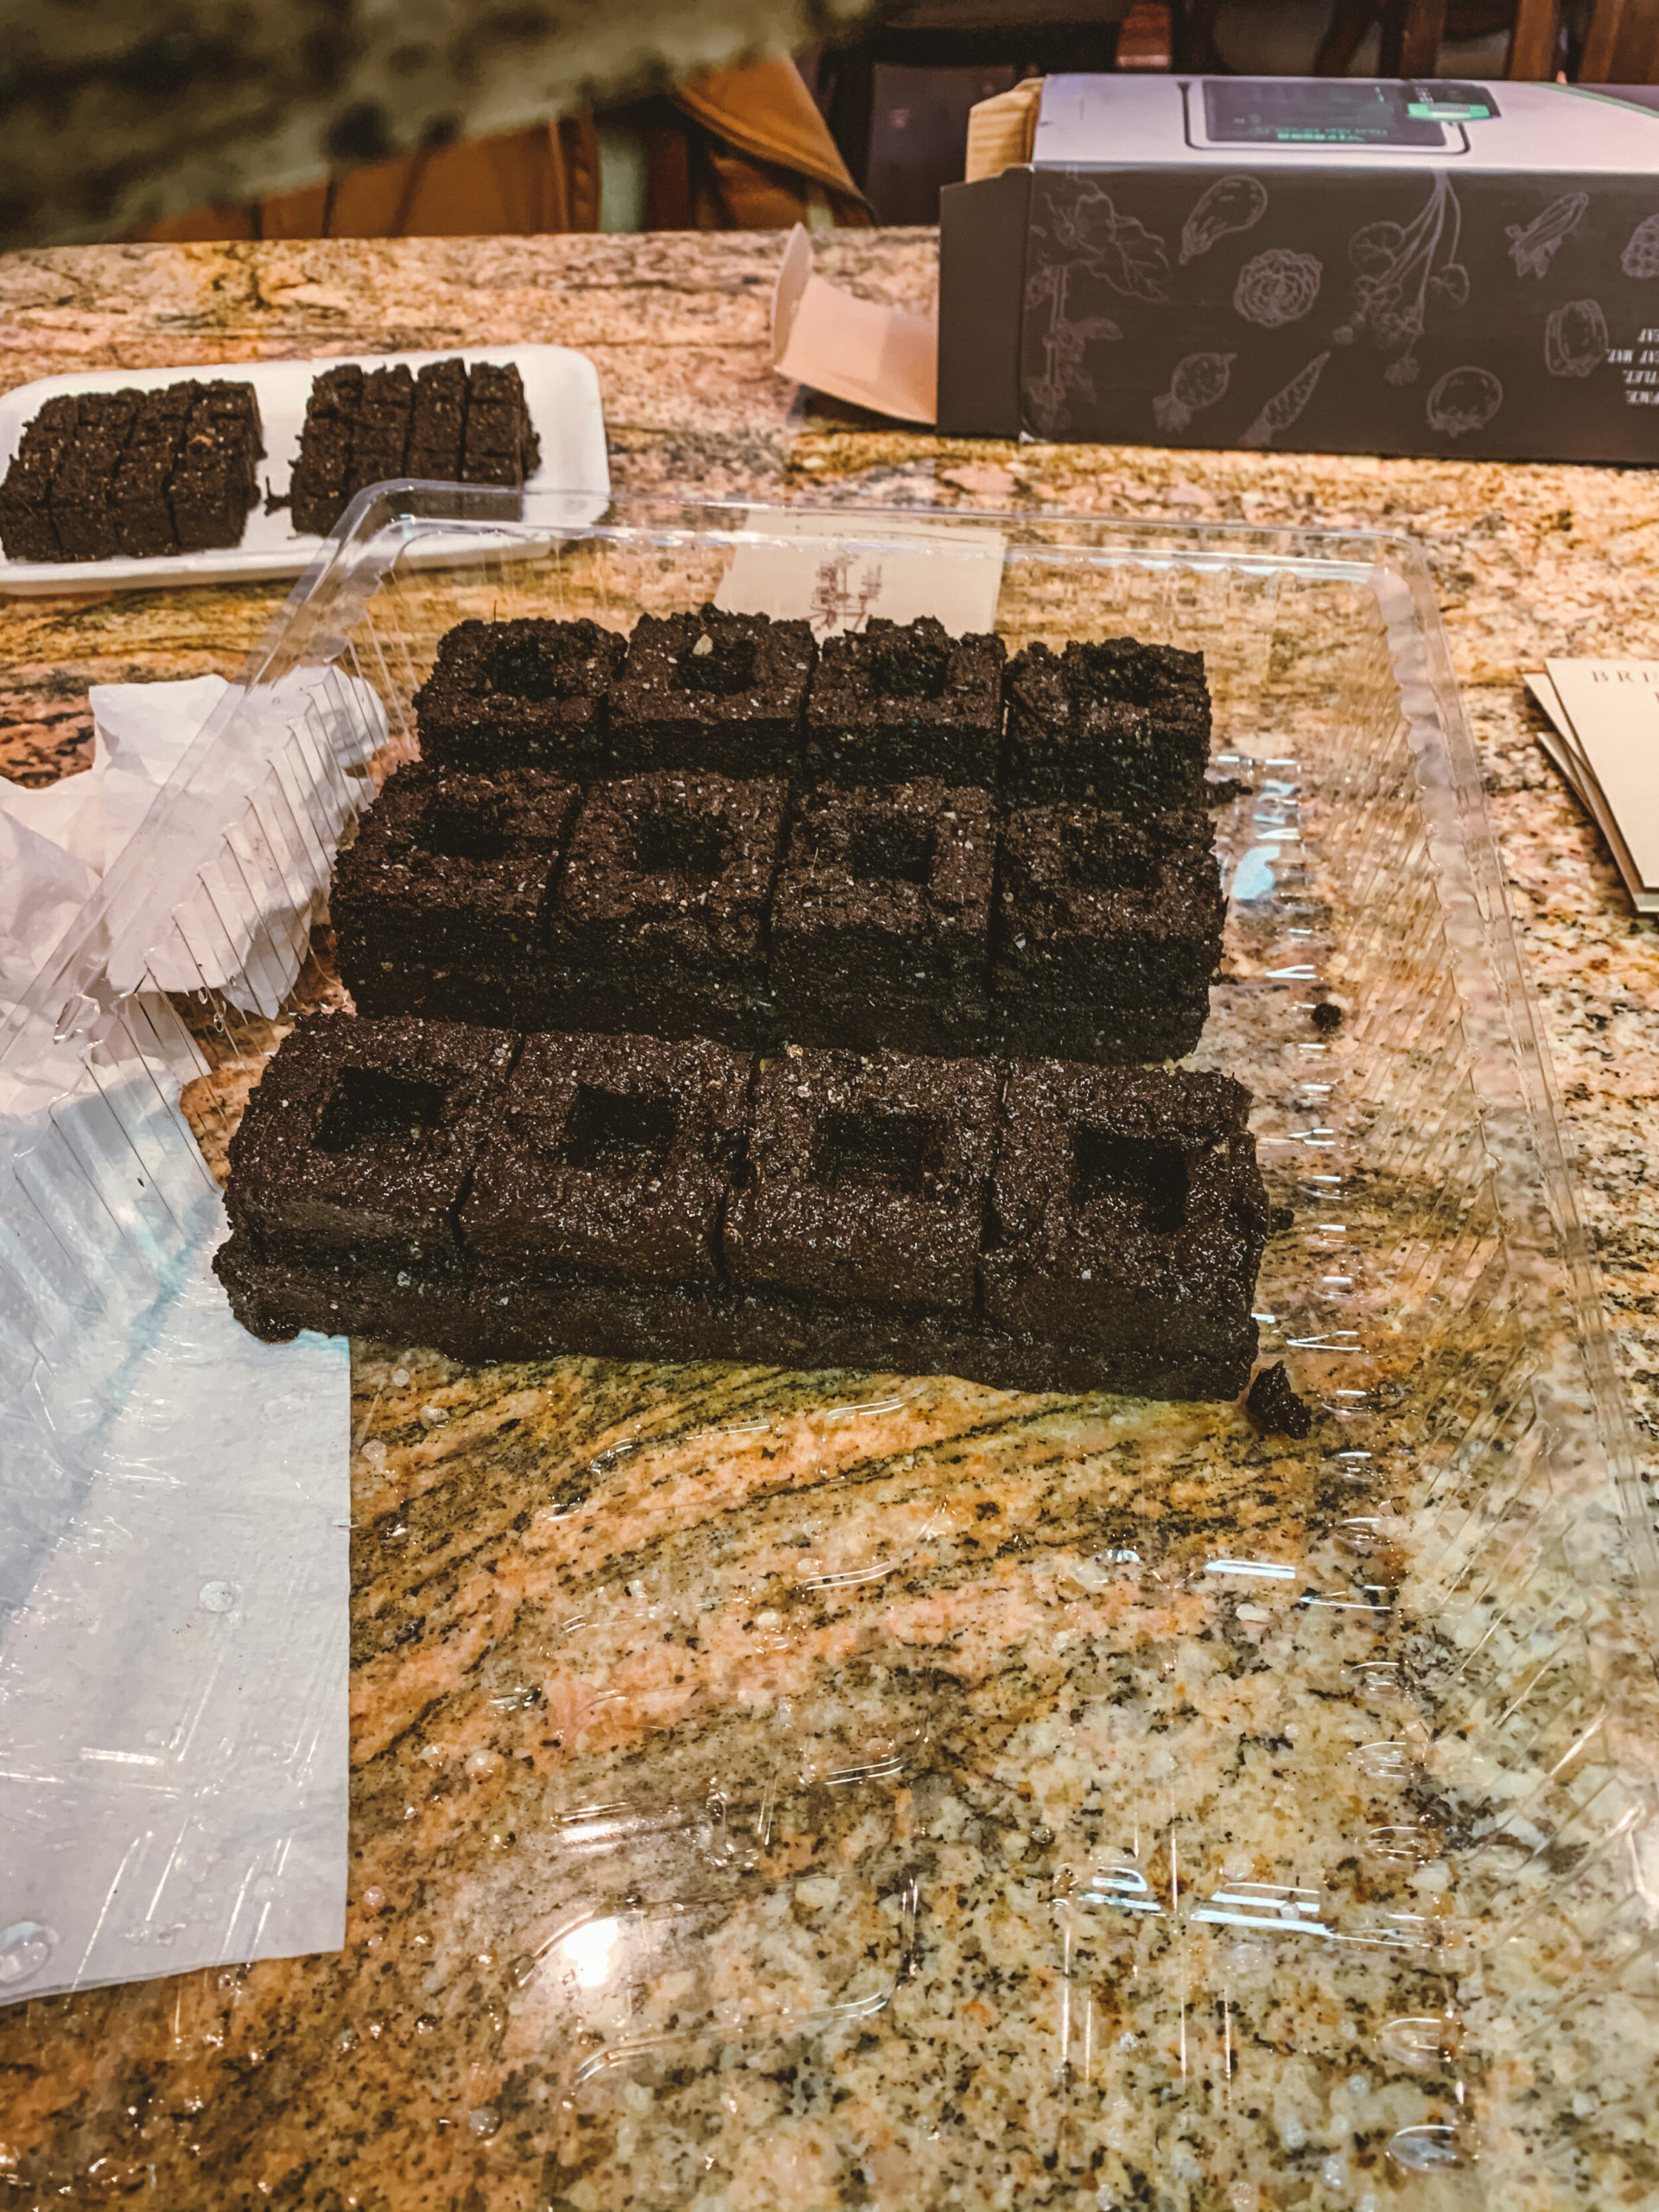
I place the soil blocks on a foam cafeteria tray or a reusable plastic tray with extra room on the side to ensure the seedlings are able to be watered efficiently – also purchased from TGW here.
Then place your seeds into each blocker and cover if the seed requires (some seeds require light for germination- so you’ll just press the seed firmly into the block without covering with extra soil, other seeds you’ll cover lightly).
What to Do Once You’ve Used Soil Blocks
Easy-Peazy! Just give the seedlings a good drink when they’re all sowed into their blocks. Water the blocks by filling the foam tray with water. Soil blocks soak up the water from the tray and if there is water left over carefully pour the excess water down the drain. Then, place the foam tray on a heat mat (again, if the seeds require heat to germinate (most do!) and cover with burlap. Both of these supplies can be purchased from TGW also, burlap and heat mat.
Upon germination, place the seedlings under grow lights to get them short and stocky. You will want the seedlings to be thick and healthy before transplanting them into the garden. Just make sure you harden-them off before placing them into the garden.
Then, you’ll be able to plant these seedlings into the garden when they’re about 4 inches tall. By using soil blocks, your transplants should react better to the relocation into the garden.
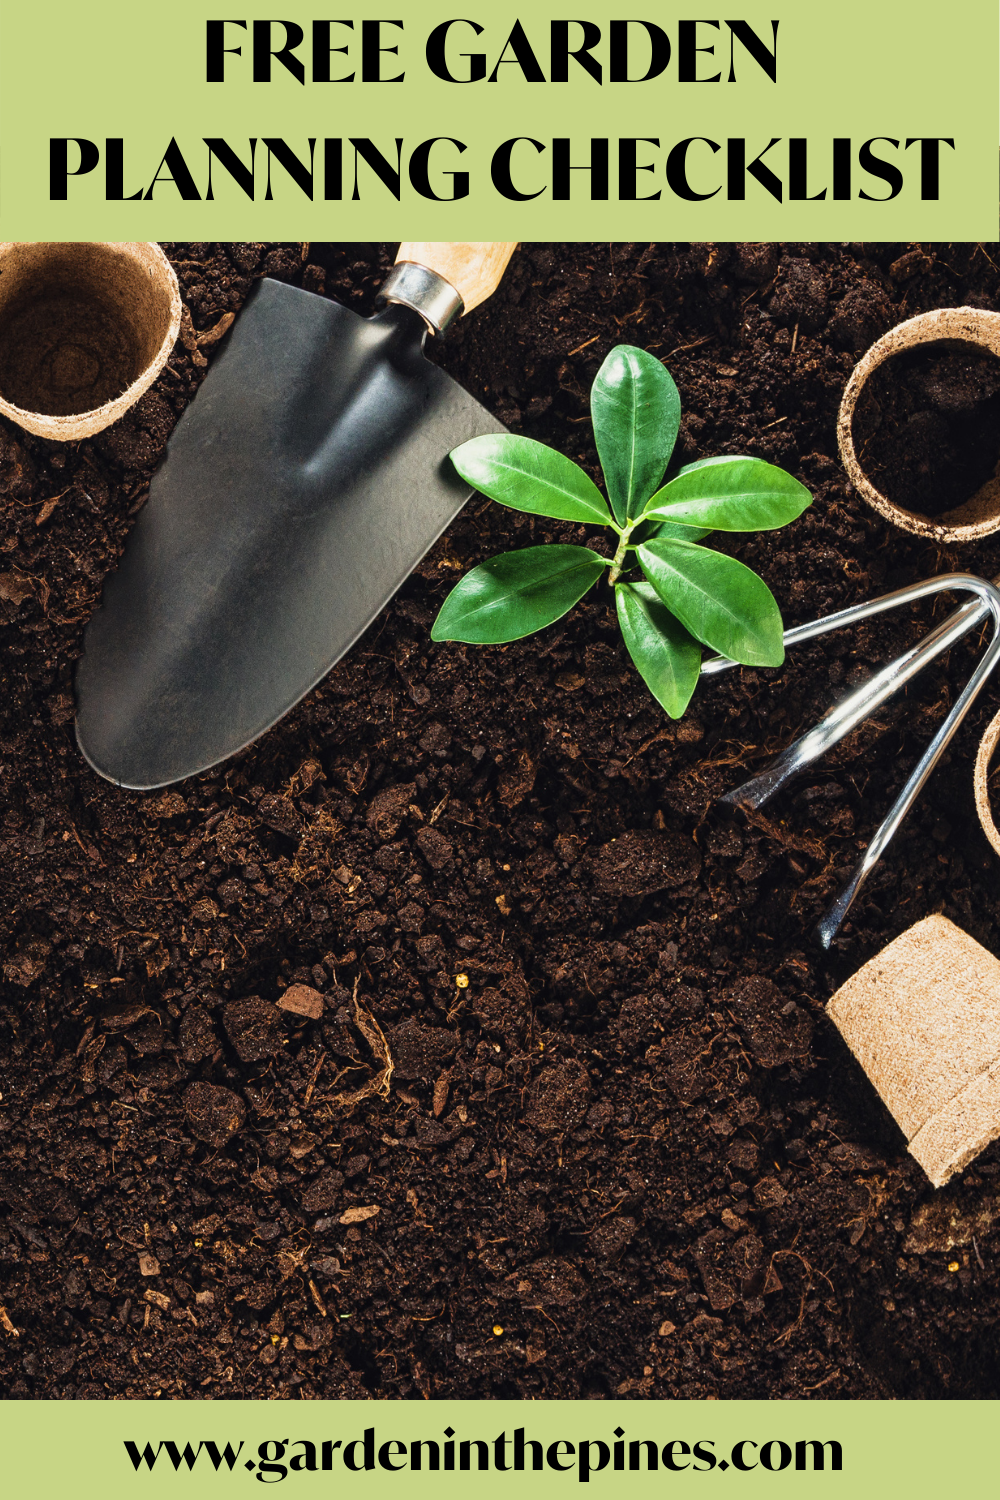
As a gift for you, I have put together a FREE Gardening Prep Checklist to help you prepare your garden plans! Gardening doesn’t have to be so overwhelming when you are first starting out. This checklist should help you gather the supplies you will need and to help you lay the ground work for a beautiful garden this season!
And there you have it! Now you know how to use soil blocks to start seeds. See? You can do it, too!
With a little patience and commitment, you can squeeze more plants into your indoor growing space, maintain a quicker turn-around time for getting your transplants into the garden, improve your transplant health, and minimize the impact on the environment by going plastic free for your seed starting chores!
Please tell us what you think! We’d love to hear from you. Drop a note below and let us know what seeds you’re starting for this upcoming season or any questions you have about how to use soil blocks.
LEAVE A COMMENT
View Comments
Reply...


